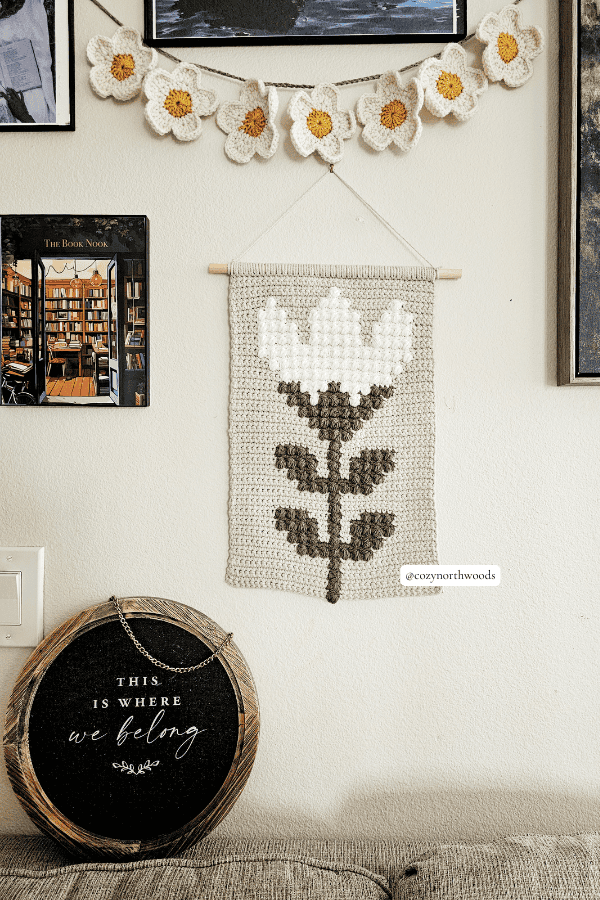
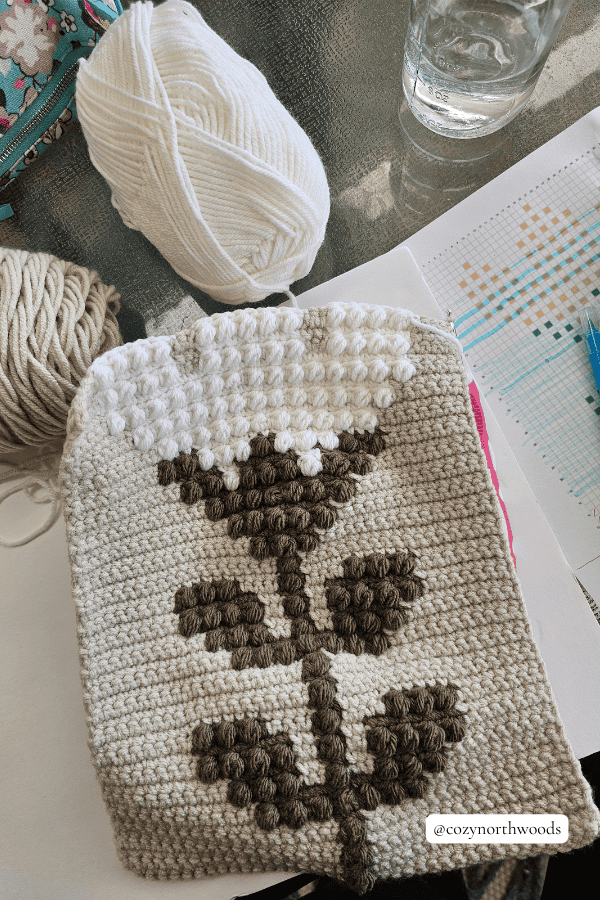
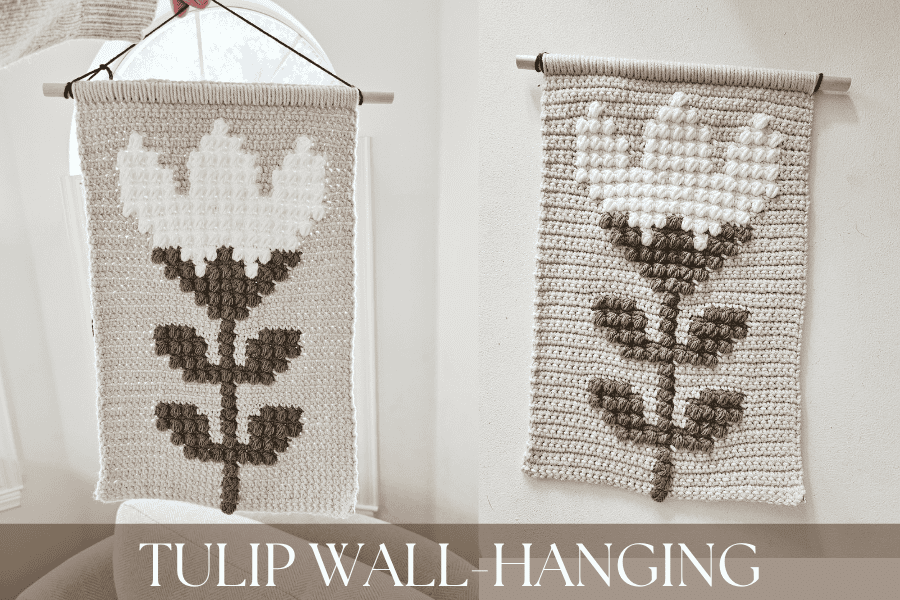
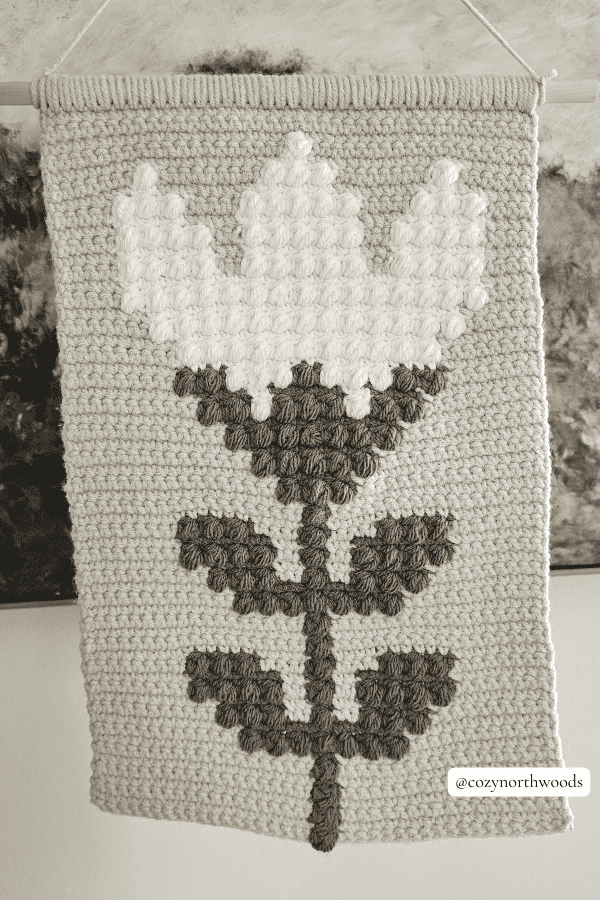
The Tulip Wall Hanging Crochet Pattern is the perfect home accessory to take you into the spring and summer seasons. This pattern is a great stash buster because it doesn’t require a ton of yarn. It’s easy to follow and quick to work up using only single crochet stitches and puff stitches.
This post may contain affiliate links. If you click a link on this page and make a purchase, I may receive a commission at no additional cost to you.
Customize the colors of this wall hanging to fit your space.
I went with a more neutral/light yet moody vibe with a deep olive color for the flower stem, and a snowy white for the flower “petals” to match my wall decor.
I decided on a mix of single crochet stitches and puff stitches together, because I love adding extra texture to my crochet projects when I can.
This pattern is EASY to follow and comes with a YouTube tutorial. Because it is made with puff stitches and some color changing, I would consider this pattern to be great for someone who is at least a “seasoned beginner” or has a fair number of projects they’ve completed already.
However, this pattern could easily be completed by an eager to learn beginner, when paired with the video tutorial.
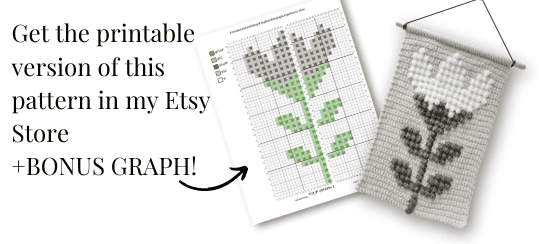
If you want the printable GRAPH to go along with this pattern you can purchase it in my Etsy Shop!
SUPPLIES & ALL ABOUT THIS PATTERN
Let’s get into the supplies you will need for this wall-hanging pattern:
-3.75-4.0mm crochet hook (I used 3.75mm, but anything in between is fine.)
-Size 4/medium acrylic yarn in 3 colors. The colors I used are:
- MUSHROOM/CHAMPIGNON Soft Classic Acrylic by Loops & Threads 100% acrylic (72 grams needed) used for the main/background color of the wall hanging.
- BONNY LASS #16 by Yarn Bee Yarn ID 80% acrylic, 20% polyamide (18 grams needed) used for the flower stem.
- SNOW WHITE ED100-01 Premier Yarns Everyday 100% anti-pilling acrylic (30 grams needed) used for the flower petals.
-You will also need a dowel/stick for hanging. Anything longer than 10 inches (25.4cm) will work.
-Finished size: 10 in/25.4cm wide and 14.5 in/36.83cm long.
PUFF Stitch instructions: *yo, insert hook into stitch, pull up a loop*, repeat 2 more times * to * for a total of 3, then yo and pull through all loops on hook.
STITCH KEY
- ch: chain
- SC: single crochet stitch
- PUFF: puff stitch
- g: green yarn color for stem/leaves (bonny lass)
- w: main background color as a single crochet stitch (mushroom)
- p: petal yarn color for flower (snow white)
- st: stitch
- yo: yarn over
View the YouTube Tutorial if you need a visual!
The video will show you how to start the pattern, how to crochet rows 1-42 in real time, and how to attach your wall hanging to a dowel!
How to read the pattern: example- Row 9: 13w, (gPUFF, gSC) x7, 12w, turn.
This is the abbreviated version of: “Row 9: with color w, sc into the first 13 st’s, *switch to color g (carry w under these next st’s) and make a PUFF stitch into the next stitch space, then sc into the next stitch*, repeat 6 more times * to * for a total of 7 PUFF/SC, then switch back to color w (drop color g) and sc into the last 12 stitches, turn.
WRITTEN PATTERN
Reminder: “w” = single crochet stitch the entire pattern.
This pattern does not include a turning chain.
You will sc right into that first st of each row. I recommend carrying the yarn colors not being used under working stitches to keep your work clean.
You can get the printable version of this pattern in my Etsy Shop here, + the GRAPH!
To Start: Ch 40 with w (your main background yarn color of choice).
← Row 1: with w, sc into 2nd ch from hook, then sc into the next 18 st’s, switch to green and make a PUFF st, then SC, switch back to w and sc 18 to the end, turn (39 st’s/row)
(There is no turning chain in the pattern. You can view the YouTube video to see how I turn and sc into the first available stitch, if needed.)
→ Row 2: 18w, 2gSC, 19w, turn
← Row 3: 19w, gPUFF, gSC, 18w, turn
→ Row 4: 18w, 2gSC, 19w, turn
← Row 5: 19w, gPUFF, gSC, 18w, turn
→ Row 6: 18w, 2gSC, 19w, turn
← Row 7: 19w, gPUFF, gSC, 18w, turn
→ Row 8: 18w, 2gSC, 19w, turn
← Row 9: 13w, (gPUFF, gSC) x7, 12w, turn
→ Row 10: 12w, 14gSC, 13w, turn
← Row 11: 11w, (gPUFF, gSC) x3, 2w, gPUFF, gSC, 2w, (gPUFF, gSC) x3, 10w, turn
→ Row 12: 10w, 6gSC, 2w, 2gSC, 2w, 6gSC, 11w, turn
← Row 13: 9w, (gPUFF, gSC) x4, 2w, gPUFF, gSC, 2w, (gPUFF, gSC) x4, 8w, turn
→ Row 14: 8w, 6gSC, 4w, 2gSC, 4w, 6gSC, 9w, turn
← Row 15: 9w, (gPUFF, gSC) x3, 4w, gPUFF, gSC, 4w, (gPUFF, gSC) x3, 8w, turn
→ Row 16: 18w, 2gSC, 19w, turn
← Row 17-28: REPEAT ROWS 5-16.
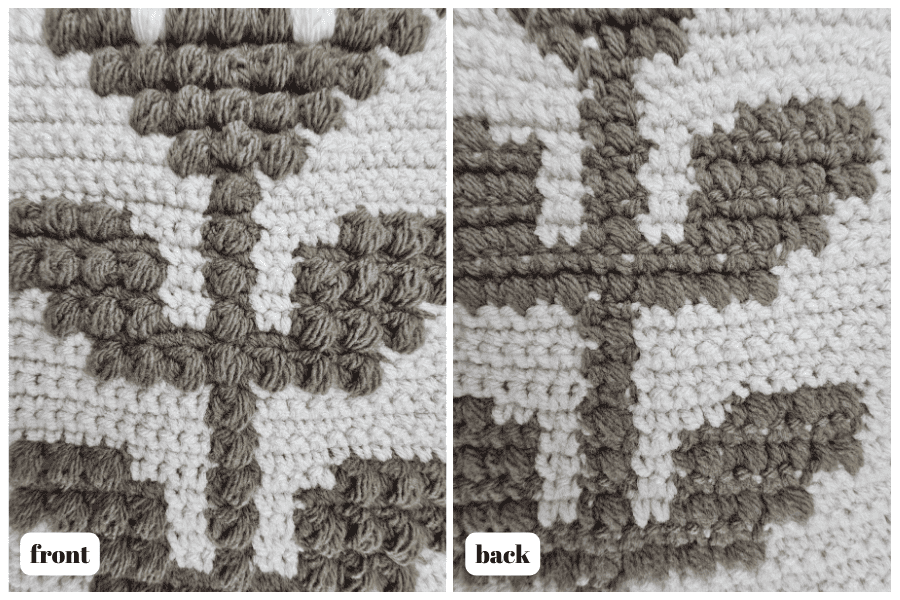
← Row 29: 19w, gPUFF, gSC, 18w, turn
→ Row 30: 18w, 2gSC, 19w, turn
← Row 31: 17w, (gPUFF, gSC) x3, 16w, turn
→ Row 32: 16w, 6gSC, 17w, turn
← Row 33: 15w, (gPUFF, gSC) x5, 14w, turn
→ Row 34: 14w, 10gSC, 15w, turn
← Row 35: 13w, (gPUFF, gSC) x7, 12w, turn
→ Row 36: 12w, 14gSC, 13w, turn
← Row 37: 11w, (gPUFF, gSC) x2, pPUFF, pSC, (gPUFF, gSC)x3, pPUFF, pSC, (gPUFF, gSC) x2, 10w, turn
→ Row 38: 10w, 4gSC, 2pSC, 6gSC, 2pSC, 4gSC, 11w, turn
← Row 39: 9w, (gPUFF, gSC)x2, (pPUFF, pSC) x3, gPUFF, gSC, (pPUFF, pSC) x3, (gPUFF, gSC) x2, 8w, turn
→ Row 40: 8w, 4gSC, 14pSC, 4gSC, 9w, turn
← Row 41: 9w, (pPUFF, pSC) x11, 8w, turn
→ Row 42: 8w, 22pSC, 9w, turn
← Row 43: 7w, (pPUFF, pSC) x13, 6w, turn
→ Row 44: 6w, 26pSC, 7w, turn
← Row 45: 5w, (pPUFF, pSC) x15, 4w, turn
→ Row 46: 4w, 30pSC, 5w, turn
← Row 47: 5w, (pPUFF, pSC) x4, 2w, (pPUFF, pSC) x5, 2w, (pPUFF, pSC) x4, 4w, turn
→ Row 48: 4w, 8pSC, 2w, 10pSC, 2w, 8pSC, 5w, turn
← Row 49: 5w, (pPUFF, pSC) x4, 2w, (pPUFF, pSC) x5, 2w, (pPUFF, pSC) x4, 4w, turn
→ Row 50: 4w, 6pSC, 4w, 10pSC, 4w, 6pSC, 5w, turn
← Row 51: 5w, (pPUFF, pSC) x3, 4w, (pPUFF, pSC) x5, 4w, (pPUFF, pSC) x3, 4w, turn
→ Row 52: 6w, 2pSC, 9w, 6pSC, 8w, 2pSC, 7w, turn
← Row 53: 7w, pPUFF, pSC, 8w, (pPUFF, pSC) x3, 9w, pPUFF, pSC, 6w, turn
→ Row 54: 18w, 2pSC, 19w, turn
← Row 55: 19w, pPUFF, pSC, 18w, turn
→ Row 56-59: 39w, Done. Do not cut yarn yet…
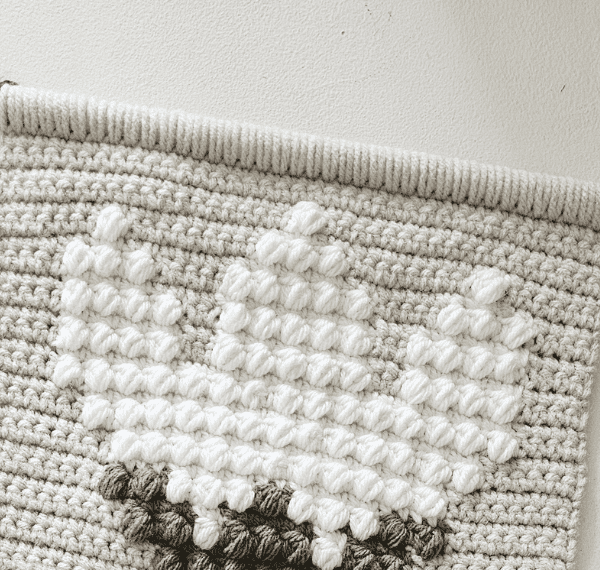
HOW TO ATTACH TO A DOWEL/STICK
View the YouTube Video at 1:29:00 for this step!
Next:
I recommend wetting & blocking your wall hanging after weaving in/cutting off any yarn tails.
Blocking tutorials can be found on YouTube, search: “crochet blocking tutorial”
I like to run the water faucet over my project to wet it, then ring it dry with my hands by squeezing out the extra water and lay it flat on a towel to dry. Keep something heavy on the bottom corners to keep them from curling up as it dries.
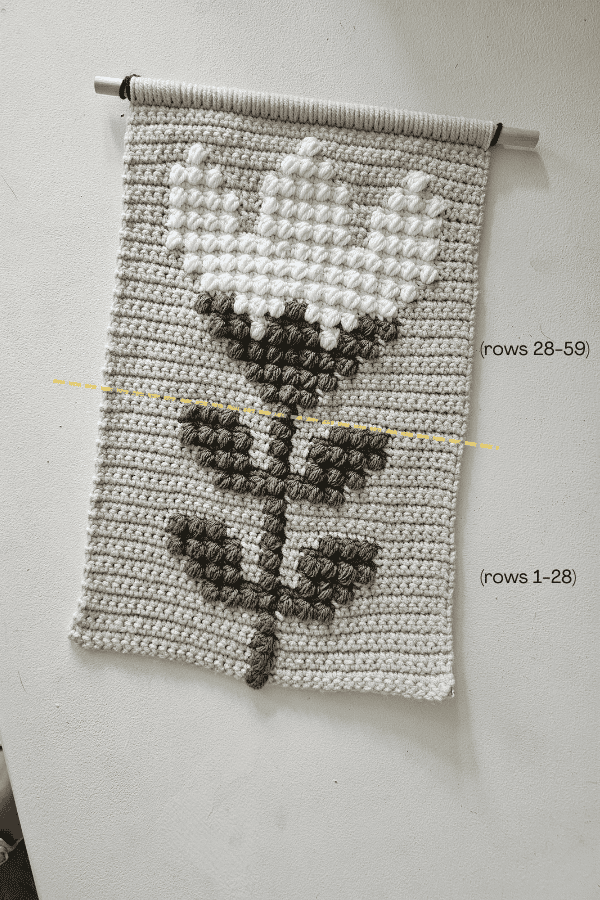
And then you’re DONE! If you make this wall hanging, please share with me by tagging me in your pictures on Instagram and Facebook!
Thank you SO MUCH for reading and supporting me! Please let me know if you have any questions!
HAPPY CROCHETING! -Katie
POLICY
Copyright © 2024 by Katie Handwork of CozyNorthWoods. All rights reserved. No part of this blog post and crochet pattern may be reproduced, sold or used in any manner other than personal use. You may not share the contents of this pattern anywhere, including online or in physical form. Legal action will be taken. You may sell finished, tangible items created from this pattern post, however, you must use your own photos. You are welcome to share photos from this blog post on your own blog with links back to this web page. Thank you!
