This post may contain affiliate links. If you click a link on this page and make a purchase, I may receive a commission at no additional cost to you.
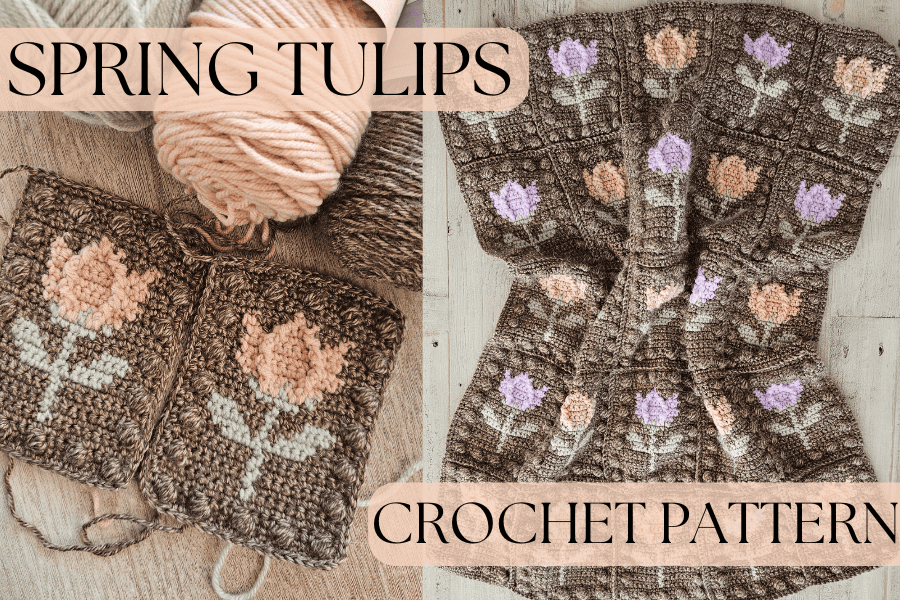
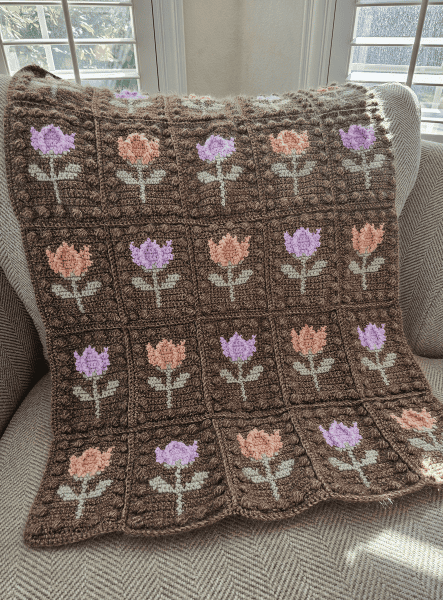
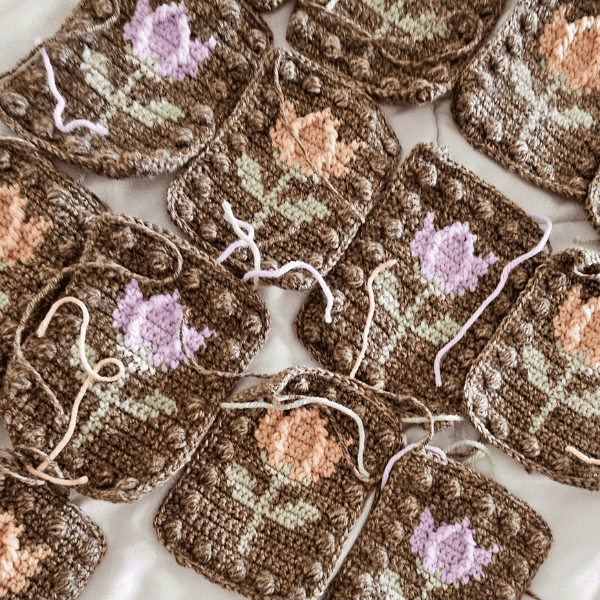
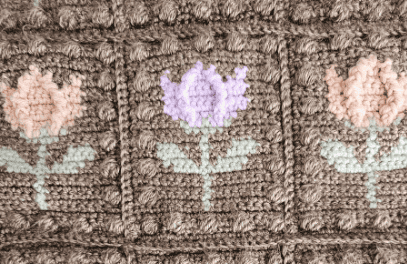
I understand that tulips for spring is very overdone, but when I think of spring, I think of tulips- so in my brain they’re staying forever. I have spent way too long trying to figure out how to use a front/back post double crochet stitch to create those beautiful designs you see over-top of blankets and things, and I’m here to say that… I still have not figured it out. But overall, I’m proud of how this attempt went. I wanted to create a blanket square (rectangle lol) that was more than just color-work and single crochet stitches. I wanted to add some depth and of course, texture.
My Spring Tulip Crochet pattern is made with mostly single crochet stitches, some puff stitches, lots of color-working, and the star of the show is the double crochet under the post. If you think it looks difficult, please don’t worry- I have a YouTube video tutorial for you to follow along with, in real time!
The great part about this pattern is that it looks pretty, but it’s made with regular old size 4 acrylic yarn that you can find anywhere! Use a background yarn with more than one color to it, like I did, to add even more uniqueness to your project! Let’s get into the details:
SUPPLIES & IMPORTANT DETAILS
- 3.5mm crochet hook
- Any size 4 acrylic yarn
- I used: I Love this Yarn Acrylic, #722 Marbled Mocha PRINT, #260 Light Sage, #290 Orchid, and #230 Light Peach.
- Per each tulip panel: 30g petal color, 18g stem color, 72g main background color. Total amount will depend on how large your project is.
- Gauge: 19 sc x 20 rows = 4x4inches
- YouTube tutorial: CLICK HERE
- Yarn needle/scissors optional for attaching each panel together into a blanket. If you need help with this, please let me know! You can also search online “how to attach blanket squares together” for some helpful ideas. I personally used a single crochet stitch to attach my tulip rectangles together.
- Stitch key: (U.S Terms)
- Ch- chain
- Sc- single crochet
- DC- double crochet
- A- Main color yarn
- B- Stem color yarn
- C- Tulip color yarn
- St- stitch
- Sl-st: slip stitch
- pual- pull up a loop
- Puff stitch: yo, insert hook into stitch, pual, *yo, insert hook into same stitch, pual* repeat *to* 2 more times for a total of 4 times. Then yo, pull through all loops on hook.
Follow along with the YouTube video!
Tulip Blanket Crochet Pattern:
(pattern is worked from bottom up)
To Start: With color A, ch 20
Row 1: sc into the 2nd ch from your hook, and then sc into every ch for a total of 19 sc, turn (no turning chain ever)
Row 2: sc into the first stitch, then Puff st into the next st. *Sc into each of the next 3 st’s, then Puff st into the next st.* Repeat *to* for the next 12 stitches, then sc into the last stitch of the row. (19 st’s total) turn
Row 3: Sc into each st down the row (19) turn
Row 4: Sc into the first 9 st’s, then switch to color B and sc into the 10th st. (carry color A under this st), then switch back to color A (drop color B) and sc into the last 9 st’s. (19) turn
Row 5: Repeat row 4.
Row 6: Sc into the first st, then Puff into the second stitch, Then sc into the next 7 stitches. Switch to color B and sc into the next st (carry A under this stitch). Switch back to A, drop B and sc into the next 7 st’s, Puff into the next st, and sc into the last st (19) turn
Row 7-9: Repeat row 4.
Row 10: Sc into first st, Puff into next st, sc into the next 3 st’s. Switch to B and sc into the next 9 st’s (carry A), then switch back to A, drop B, and sc into the next 3 st’s, Puff into the next st, and sc into the last st. (19) turn
Row 11: Sc into the first 4 st’s, switch to B and sc into the next 4 st’s, switch back to A and sc into the next st, switch back to B and sc into the next st (center st), switch back to A and sc into the next st, switch back to B and sc into the next 4 st’s, switch back to A, drop B and sc into the last 4 st’s. (19) turn
(Now that you have the hang of it, I’m going to abbreviate the color changes for the next rows…) (Make sure you are carrying color A under B stitches, and B under A when necessary)
Row 12: (all sc) 3A, 4B, 2A, 1B, 2A, 4B, 3A, (19) turn
Row 13: (all sc) 3A, 3B, 3A, 1B, 3A, 3B, 3A, (19) turn
Row 14: Repeat row 6
Row 15: (all sc) 7A, 5B, 7A, (19) turn (get color C ready)
Row 16: (all sc) 6A, 1B, 2C, 1B, 2C, 1B, 6A, (19) turn (cut off color B, no longer needed)
Row 17: Sc into first 5 st’s, switch to C and sc into next 2 st’s, DC under the post of the “v” on the 8th st (watch youtube video), sc into the next 3 st’s, DC under the post of the “v” on the 12th st. Sc into the next 2 st’s, switch back to A, drop B, and sc into the last 5 st’s. (19) turn
Row 18: Sc into the first st, Puff into the next st, sc into the next 2 st’s, Switch to color C and sc into the next 2 st’s, Then skip the 7th st and DC under the post of the DC st in the previous row, sc into st’s 8-12, then DC under the post of the next DC st in the previous row, sc into the 14th and 15th st’s, switch back to A and sc into the next st’s, Puff into the next st, and sc into the last st. (19) turn
Row 19-20: Sc into the first 4 st’s, switch to C and sc into the next 2 st’s, then DC under the post of the DC st in the previous row, sc into st’s 8-12, then DC under the post of the next DC from the previous row, sc into 14th and 15th st, then switch back to A and sc into the last 4 st’s. (19) turn
Row 21: Sc into the first 4 st’s, Switch to C and sc into the next 2 st’s, Switch back to A and sc into the next st (dc st space from previous row), then DC under the post of the close DC from the previous row, sc into stitches 9-11, then DC under the post of the next DC from the previous row, Switch to A and sc into the st space of the DC from the previous row, switch to C and sc into the next 2 st’s, switch back to A and sc into the last 2 st’s, (19) turn
Row 22: Sc into the first st, Puff into the next st, sc into the next st, switch to C and sc into the next st, switch to A and sc into the next 3 st’s, then switch back to C and DC under the post of the DC in the previous row, sc into the 10th st, DC under the post of the next DC in the previous row, Switch back to A and sc into the next 3 st’s, Switch back to C and sc into the next st, switch back to A and sc into the next 2 st’s, Puff into the next st, sc into the last st (19) turn
Row 23: (all sc) 9A, 1C, 9A, (19) turn (cut off color C, not needed anymore)
Row 24-25: sc into every stitch down the row (19) turn
Row 26: repeat row 2
Row 27: sc into every stitch down the row (19)
(Do not cut off yarn yet)
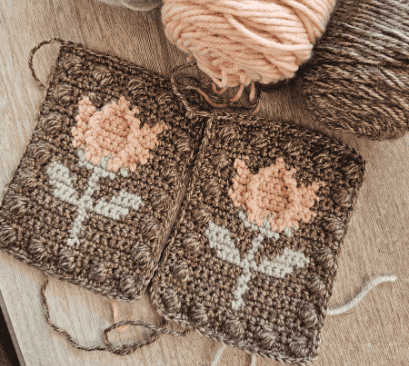
Make sc border:
To start the sc border around the perimeter: ch 1
Make evenly spaced sc stitches down the left (verticle) side of your tulip rectangle. I made 26 sc stitches.
When you get to the bottom corner, ch 1, then sc into each st of the starting ch at the bottom of your rectangle. (19)
ch 1 at the corner.
Sc evenly (26 st’s) up the other side of your rectangle, ch 1 at the corner.
Sc across the top into every stitch (19) and sl-st into the ch 1 from the start- completing a sc border around the perimeter.
DONE!
Make as many Tulip panels needed for your blanket or project and sew/crochet together in your preferred way. I personally used a single crochet stitch to attach my panels together and finished with a single crochet border around the entire blanket.
POLICY
Copyright © 2023 by Katie Handwork and CozyNorthWoods. All rights reserved. No part of this pattern may be reproduced or used in any manner without written permission of the copyright owner. You may not share the contents of this pattern anywhere, including online or in physical form. Legal action will be taken. You may sell finished items created from this pattern, however, you MUST use your own photos. If you would like to print this pattern for your files, please purchase the PDF here.
